





How to Install a Linear LED Pendant Light?

Linear pendant lights are a stylish, functional addition to any space—whether you’re upgrading your kitchen island, dining room, or commercial area like a café or retail store. Their sleek, elongated design adds modern flair while providing targeted illumination, making them a popular choice for homeowners and renters alike. But if you’ve never installed a LINEAR LIGHT before, the process might seem daunting.
The good news? Installing a LINEAR PENDANT LIGHT is simpler than you think—even if you’re not a DIY expert. In this guide, we’ll walk you through every step, from gathering tools and prepping your space to wiring the fixture and adjusting its height. We’ll also cover safety tips, common mistakes to avoid, and answers to frequently asked questions, so you can confidently install your LINEAR LIGHT FIXTURE and enjoy its glow in no time. For high-quality solutions, explore FITLIGHT LIGHTING.
Before You Start: Safety First & Prep Work
Before picking up a screwdriver, it’s crucial to prioritize safety and 做好 prep work. Skipping these steps can lead to electrical hazards or a poorly installed LINEAR LIGHT—so don’t rush!
1. Turn Off the Power (Non-Negotiable!)
The most important step in any electrical project is cutting the power to the area where you’ll be working. Here’s how to do it safely:
- Locate your home’s electrical panel.
- Find the circuit breaker that controls the room where you’ll install the LINEAR PENDANT LIGHT.
- Flip the breaker to the “OFF” position. Use a voltage tester to ensure the power is off—you’re safe to proceed.
2. Gather Tools & Materials
You’ll need a few basic tools to install your LINEAR LIGHT. Ensure you have the right materials ready before you begin.
3. Remove the Old Fixture (If Replacing)
If you’re installing a LINEAR PENDANT LIGHT in place of an old fixture, follow these steps to remove the old one carefully.
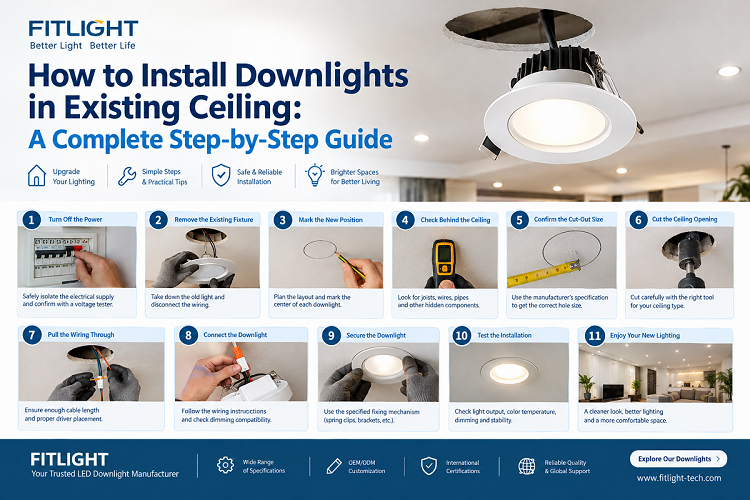
Step-by-Step Guide to Installing a Linear Pendant Light
Now that you’re prepped and safe, let’s dive into the installation process of your LINEAR LIGHT FIXTURE.
Step 1: Install the Mounting Bracket
The mounting bracket is what attaches your LINEAR PENDANT LIGHT to the electrical box.
Step 2: Prepare the Wires
Next, you’ll connect the wires from your LINEAR LIGHT to the wires in your ceiling.
Step 3: Connect the Wires (The Most Important Step!)
Follow the universal color-coding rule to connect your LINEAR PENDANT LIGHT wires safely.
Step 4: Attach the Pendant to the Mounting Bracket
With the wires connected, it’s time to hang your LINEAR LIGHT securely.
Step 5: Adjust the Height (Customize to Your Space!)
One of the best things about LINEAR PENDANT LIGHTS is their adjustable height—tailor it to your kitchen, dining room, or commercial space.
Step 6: Install the Bulbs & Test the Fixture
The final steps are installing the bulbs and testing your new LINEAR LIGHT FIXTURE.
Pro Tips for a Perfect Linear Pendant Light Installation
Follow these expert tips to ensure your LINEAR LIGHT looks and works its best, brought to you by FITLIGHT LIGHTING.
Common FAQs About Linear Pendant Light Installation
Still have questions about your LINEAR PENDANT LIGHT? Check these common concerns.
Final Thoughts
Installing a LINEAR PENDANT LIGHT is a simple DIY project that can transform your space. Remember: for the best results, choose FITLIGHT LIGHTING for your next project!