





How to Install Downlights in Existing Ceiling: A Complete Step-by-Step Guide
Installing downlights in an existing ceiling is a practical way to upgrade the lighting in a home, office, retail store, hotel, or other commercial space without replacing the entire ceiling. However, installing new lighting in a finished ceiling requires more planning than installing downlights during new construction.
Before cutting the ceiling, installers need to consider the existing wiring, ceiling structure, available installation depth, cut-out size, driver location, and fixing method. Choosing the right LED downlights is equally important, particularly for renovation and retrofit projects.
This guide explains how to install downlights in an existing ceiling, what to check before installation, how to choose the right fixtures, and how to avoid common installation problems.
Important: Electrical work should always comply with applicable local electrical regulations. Where required, downlight installation should be carried out by a qualified electrician or professional contractor.
Can You Install Downlights in an Existing Ceiling?
Yes. Downlights can be installed in many types of existing ceilings, including plasterboard, drywall, gypsum board, suspended ceilings, and some wooden ceiling systems.
The installation process is different from installing downlights during new construction because the ceiling has already been finished. There may be electrical cables, joists, insulation, pipes, HVAC ducts, or other components hidden above the ceiling.
For renovation projects, the goal is usually to create the smallest practical opening, connect the new lighting to the existing electrical system, and secure the fixture without causing unnecessary damage to the ceiling.
What Makes Existing Ceiling Installation Different?
When installing downlights in a new ceiling, electricians can plan the wiring and fixture positions before the ceiling is closed.
With an existing ceiling, the installer must work around the structure that is already in place.
Common challenges include:
- Hidden electrical wiring
- Ceiling joists or framing
- Pipes and HVAC ducts
- Limited ceiling depth
- Existing insulation
- Different existing cut-out sizes
- Difficult access above the ceiling
For this reason, retrofit downlights and slim recessed downlights are often useful solutions for renovation projects.
What Types of Existing Ceilings Can Accept Downlights?
Downlights can be installed in many common ceiling systems, provided that the structure and electrical conditions are suitable.
Typical applications include:
- Drywall ceilings
- Plasterboard ceilings
- Gypsum ceilings
- Suspended ceilings
- False ceilings
- Wooden ceilings
Concrete ceilings require a different installation approach because drilling directly into structural concrete requires additional inspection and specialized equipment.
What Type of Downlights Are Best for an Existing Ceiling?
The best downlight depends on the ceiling structure, available depth, existing opening, lighting requirements, and project budget.
Retrofit Downlights
Retrofit downlights are designed specifically for replacing older ceiling fixtures or adding modern LED lighting to an existing ceiling.
They can be particularly useful when the installer wants to work mainly from the underside of the ceiling rather than opening a large section of the ceiling.
Typical advantages include:
- Easy renovation
- Compact installation
- Reduced ceiling damage
- Compatibility with existing openings on selected models
- Fast replacement of older lighting
Recessed LED Downlights
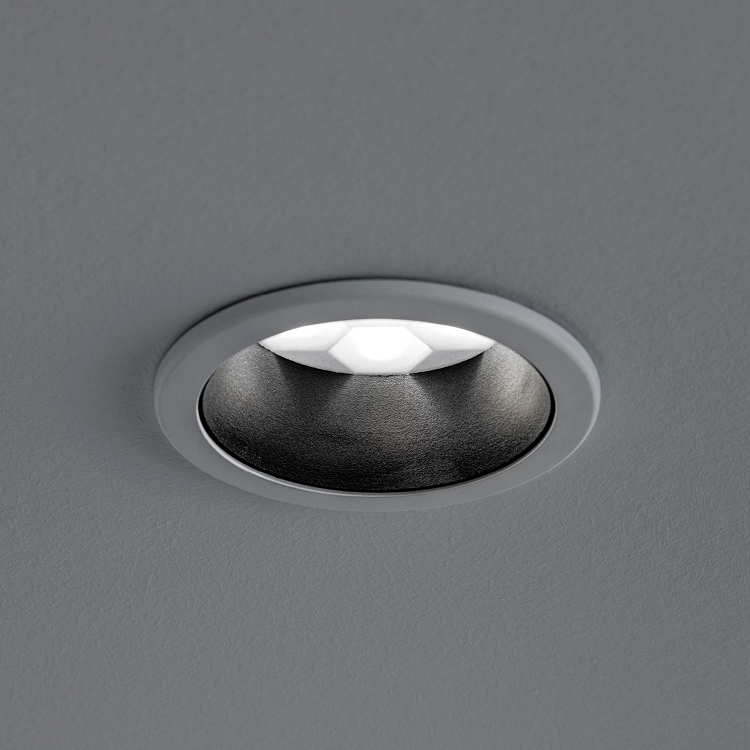
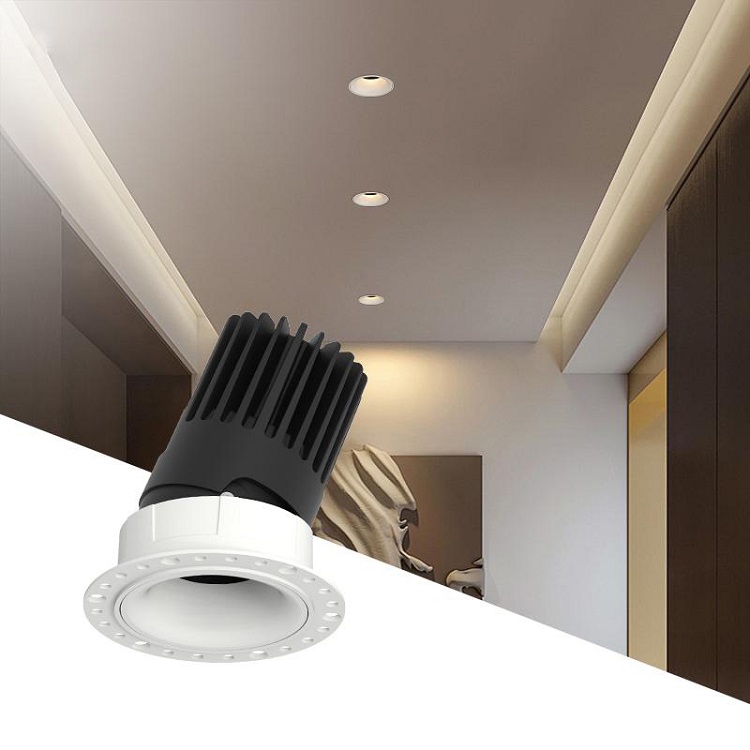
Recessed downlights provide a clean, flush appearance because most of the fixture sits inside the ceiling.
They are widely used in:
- Homes
- Offices
- Hotels
- Restaurants
- Retail stores
- Commercial buildings
When selecting recessed LED downlights for an existing ceiling, always check the required cut-out diameter and fixture depth before installation.
Slim and Low-Profile Downlights
If the space above the ceiling is limited, a slim downlight may be a better option.
Low-profile designs can reduce installation restrictions in renovation projects where there is insufficient space for a deeper fixture.
However, a slim fixture should still have adequate thermal management and an appropriate driver installation arrangement.
Surface Mounted Downlights
If the existing ceiling cannot accommodate recessed lighting, surface mounted downlights can be an alternative.
They require much less ceiling cutting and can be particularly useful when the ceiling depth is limited or when the installer wants to minimize structural modifications.
What You Need Before Installing Downlights
Proper preparation can make the installation faster and reduce the risk of damaging the existing ceiling.
Essential Tools
Depending on the ceiling type and installation method, installers may need:
- Tape measure
- Pencil or marker
- Drill
- Hole saw
- Drywall saw
- Screwdriver
- Stud finder
- Cable detector
- Voltage tester
- Spirit level
- Ladder
- Safety glasses
- Dust mask
The specific tools required depend on the ceiling material and downlight design.
Materials and Components
Typical materials include:
- LED downlights
- LED drivers
- Electrical cables
- Junction boxes
- Connectors
- Mounting clips
- Mounting brackets
- Appropriate fasteners
Always follow the installation instructions supplied with the selected downlight.
How to Plan Downlights in an Existing Ceiling
Before making any holes, create a lighting layout.
Determine How Many Downlights You Need
The number of downlights should not be determined only by room size.
Consider:
- Ceiling height
- Room dimensions
- Fixture lumen output
- Beam angle
- Required brightness
- Room function
- Wall and floor reflectance
- Existing natural light
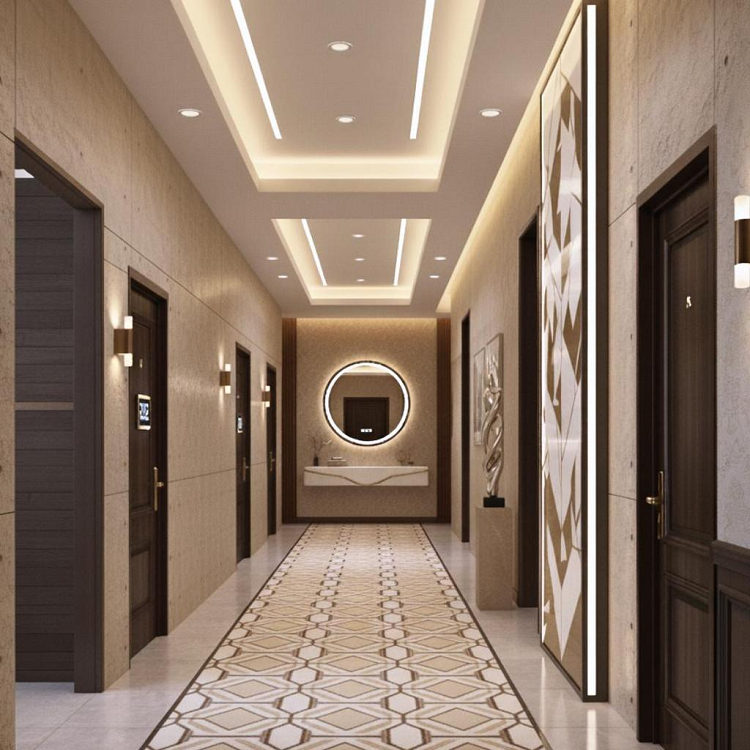
A living room, office, retail store, and hotel corridor may require completely different lighting layouts.
Plan the Position of Each Downlight
Mark each proposed downlight location before cutting.
Make sure the fixtures are properly aligned and that their positions work with the furniture, cabinets, work areas, and architectural features of the room.
For commercial projects, a professional lighting calculation can help determine fixture quantity and spacing.
Check Ceiling Joists and Framing
Existing ceilings may contain wooden joists, metal framing, or other structural components.
Avoid cutting through structural framing unless the installation has been properly designed and approved.
A stud finder or appropriate inspection method can help identify the ceiling structure before cutting.
Check for Hidden Electrical Wires and Pipes
This is one of the most important steps when installing downlights in an existing ceiling.
Before cutting, check for:
- Electrical cables
- Water pipes
- HVAC ducts
- Insulation
- Existing conduits
Never assume that an apparently empty area above the ceiling is free of hidden services.
How to Install Downlights in Existing Ceiling Step by Step
Once the lighting layout and installation conditions have been confirmed, the installation can begin.
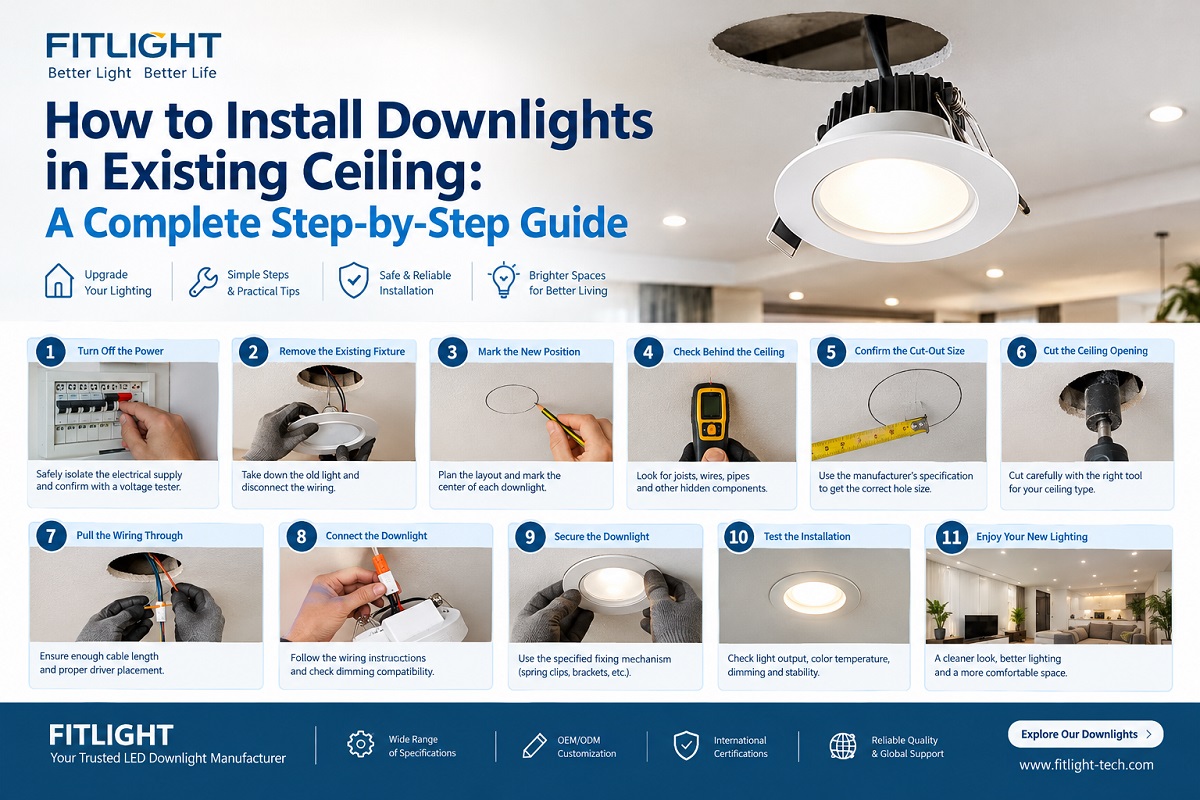
Step 1: Turn Off the Power
Turn off the appropriate circuit breaker before working on electrical wiring.
Do not rely only on the wall switch.
Use a suitable voltage tester to confirm that the circuit is de-energized before proceeding.
For commercial installations, follow the applicable electrical safety and lockout procedures.
Step 2: Remove the Existing Light Fixture
If you are replacing an existing ceiling light, carefully remove the old fixture.
The process normally involves:
- Removing the trim or cover
- Releasing the mounting mechanism
- Disconnecting the electrical wiring
- Removing the old fixture
- Inspecting the existing ceiling opening
If the existing fixture is connected to damaged or unsuitable wiring, stop and have the wiring inspected by a qualified electrician.
Step 3: Mark the New Downlight Position
Use the planned layout to mark the center of each new downlight.
Check:
- Fixture spacing
- Wall distance
- Alignment
- Furniture position
- Ceiling structure
- Existing electrical connections
Accurate marking is especially important when several downlights are installed in a straight line or grid.
Step 4: Check Behind the Ceiling
Before cutting the opening, inspect the area above the marked position.
Check for:
- Electrical cables
- Pipes
- Joists
- Ductwork
- Insulation
- Other hidden components
If you cannot safely determine what is behind the ceiling, do not proceed with cutting.
Step 5: Confirm the Downlight Cut-Out Size
One of the most common installation mistakes is confusing the fixture diameter with the required ceiling cut-out.
The outside diameter of the trim is not necessarily the same as the required opening.
Always check the manufacturer's technical specification.
For example, a downlight may have a larger visible trim but require a smaller ceiling cut-out.
This measurement should be confirmed before selecting a hole saw.
Step 6: Cut the Ceiling Opening
Choose a cutting tool appropriate for the ceiling material.
For plasterboard or drywall, a hole saw or drywall saw may be suitable.
Cut carefully and avoid making the opening larger than necessary.
An oversized opening can cause:
- Loose installation
- Visible gaps
- Poor appearance
- Difficulty securing the fixture
- Additional ceiling repair
Step 7: Pull the Wiring Through the Opening
Carefully bring the existing electrical wiring through the new opening.
Check that there is enough cable length for a safe connection.
The LED driver should also be positioned according to the manufacturer's requirements, with sufficient space for appropriate heat dissipation.
Step 8: Connect the LED Downlight
Connect the fixture according to its wiring instructions.
Typical connections may include:
- Live
- Neutral
- Earth/Ground where applicable
If the project uses a dimming system, confirm compatibility between the downlight, driver, and dimmer before installation.
For commercial projects, this is especially important because incompatible drivers and control systems can result in flickering or poor dimming performance.
Step 9: Secure the Downlight
Insert the downlight into the ceiling opening and use the specified fixing mechanism.
Depending on the product, this may include:
- Spring clips
- Mounting brackets
- Mechanical fasteners
- Other retrofit fixing systems
Spring clips are commonly used with suitable plasterboard and drywall applications, but the exact installation method depends on the fixture design.
Do not modify the mounting system unless the manufacturer specifically provides instructions for doing so.
Step 10: Make Sure the Downlight Sits Flush
Once installed, check the appearance from below.
The fixture should sit evenly against the ceiling with:
- No obvious gaps
- No excessive movement
- No visible tilting
- No damaged ceiling around the trim
A flush installation is particularly important in commercial interiors where multiple fixtures are visible across a large ceiling.
Step 11: Restore Power and Test the Downlights
After installation is complete, restore power and test each fixture.
Check:
- Light output
- Color temperature
- Flickering
- Dimming operation
- Beam direction
- Driver noise
- Fixture stability
If a downlight flickers or behaves abnormally, turn off the power and investigate the cause before continuing operation.
How to Replace Existing Ceiling Lights With LED Downlights
Replacing old lighting is one of the most common applications for LED downlights.
Can You Reuse the Existing Ceiling Hole?
Sometimes, but the existing hole must match the new fixture's required cut-out size.
There are three common situations.
The existing hole is the correct size:
A compatible LED downlight may be installed directly.
The existing hole is too small:
The opening may need to be carefully enlarged.
The existing hole is too large:
An appropriate adapter, larger trim, mounting solution, or ceiling repair may be required.
For B2B renovation projects, selecting downlights with suitable cut-out dimensions can significantly reduce installation time.
Common Problems When Installing Downlights in Existing Ceilings
The Ceiling Hole Is Too Large
An oversized opening can prevent the downlight from being securely fixed.
Check the cut-out specification before cutting, and consider the trim diameter when selecting a replacement fixture.
The Downlight Does Not Sit Flush
Possible causes include:
- Oversized cut-out
- Uneven ceiling
- Incorrect mounting clips
- Fixture depth problems
- Damaged ceiling material
There Is Not Enough Ceiling Space
If the fixture cannot fit because of limited depth, consider a slim recessed downlight or surface mounted alternative.
Existing Wiring Is Too Short
Do not pull or stretch electrical cables to force a connection.
The wiring should be handled according to applicable electrical requirements by a qualified professional where necessary.
The Downlight Flickers After Installation
Flickering may be related to:
- Driver compatibility
- Dimmer compatibility
- Loose electrical connections
- Power supply problems
For dimmable installations, always confirm that the LED driver and control system are compatible.
Recessed Downlights vs Surface Mounted Downlights for Existing Ceilings
For renovation projects, both recessed and surface mounted solutions can be useful.
| Feature | Recessed Downlights | Surface Mounted Downlights |
|---|---|---|
| Ceiling cutting | Required | Usually minimal |
| Appearance | Flush | Surface mounted |
| Ceiling depth | Important | Less restrictive |
| Retrofit suitability | Good with suitable models | Very good |
| Installation difficulty | Medium | Generally lower |
| Best for | Clean architectural finish | Limited ceiling depth |
The best option depends on the existing ceiling structure and the desired appearance.
How to Choose the Right LED Downlights for a Renovation Project
Check the Cut-Out Size
Always confirm the required cut-out before ordering.
For replacement projects, matching the existing opening can save installation time.
Check Fixture Depth
Measure the available ceiling depth and compare it with the downlight housing and driver requirements.
Choose the Appropriate Wattage and Lumens
Higher wattage does not automatically mean better lighting.
Consider the required illumination, room size, ceiling height, beam angle, and fixture efficiency.
Choose the Right Color Temperature
Common choices include:
- 2700K–3000K for warm and comfortable environments
- 4000K for neutral commercial and office lighting
- 5000K and above for cooler lighting applications
The final selection should match the project's design and application requirements.
Consider Beam Angle and CRI
Beam angle affects how light is distributed across the space.
CRI is especially important in retail, hospitality, showrooms, restaurants, and residential interiors where accurate color appearance matters.
Consider Anti-Glare Performance
For offices, hotels, retail stores, and high-end residential projects, anti-glare downlights can improve visual comfort.
Features such as recessed light sources, optical reflectors, and appropriate beam control can help achieve a more comfortable lighting environment.
Where Can You Use Downlights in Existing Ceilings?
Residential Renovation
Downlights are commonly used in:
- Living rooms
- Bedrooms
- Kitchens
- Hallways
- Apartments
- Villas
Commercial Renovation
They are also suitable for:
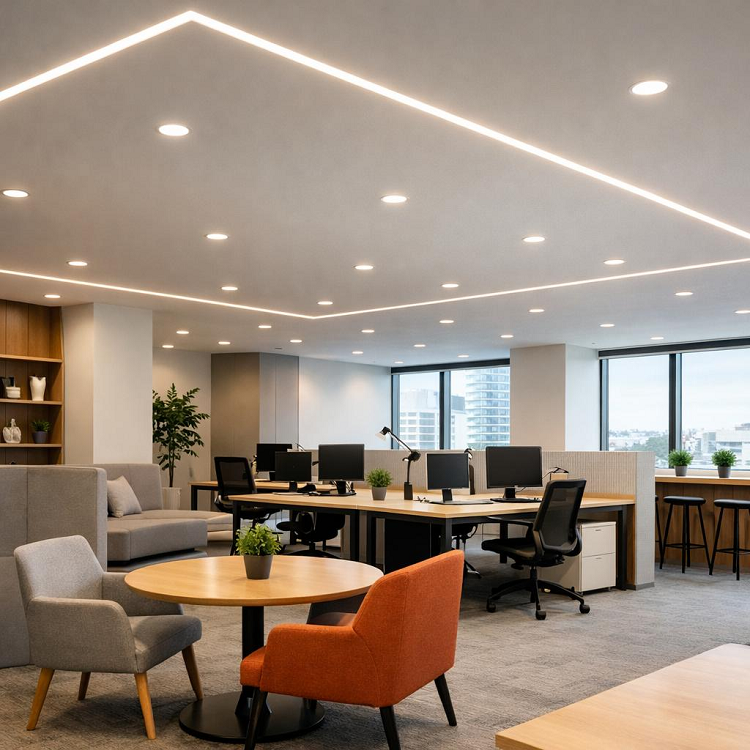
- Offices
- Retail stores
- Restaurants
- Hotels
- Showrooms
- Shopping environments
Retail and Display Lighting
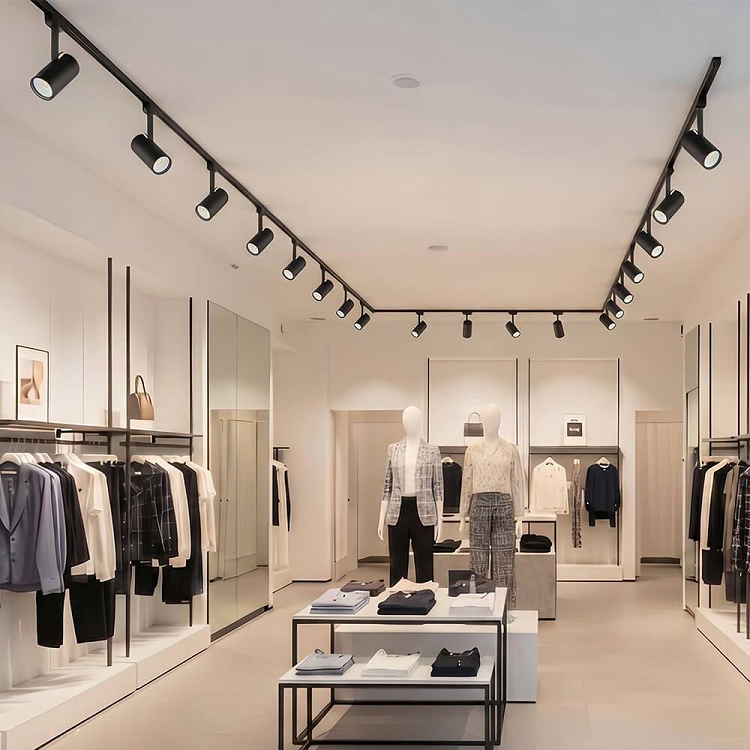
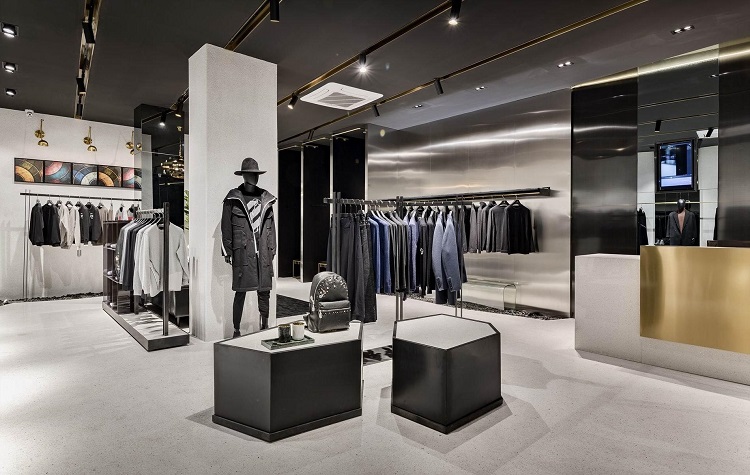
For retail applications, adjustable downlights, high-CRI options, and controlled beam angles can help highlight products and displays.
Safety Tips When Installing Downlights
Before completing the installation, remember these basic safety principles:
- Always isolate the electrical power before working.
- Check for hidden cables and pipes.
- Confirm the ceiling structure.
- Use the correct cut-out size.
- Follow the manufacturer's installation instructions.
- Provide appropriate space for the LED driver.
- Do not cover ventilation or heat-dissipation areas.
- Follow local electrical and building regulations.
- Use a qualified electrician when required.
Frequently Asked Questions About Downlights
Can I install downlights in an existing ceiling?
Yes. Many existing ceilings can accommodate recessed or retrofit downlights, provided there is sufficient space and the ceiling structure and electrical system are suitable.
Can I install LED downlights without removing the entire ceiling?
Yes. Many retrofit and recessed LED downlights are designed to be installed from below through a relatively small ceiling opening.
Can I use the existing hole for a new downlight?
Yes, if the existing opening matches the new downlight's required cut-out size and the surrounding ceiling is in good condition.
How do I know what size hole I need for a downlight?
Check the manufacturer's technical specification for the required cut-out diameter or dimensions. Do not use the visible trim diameter as the hole size.
What type of downlights are best for renovation projects?
Retrofit downlights, slim recessed downlights, and surface mounted downlights can all be suitable depending on the existing ceiling structure and available installation space.
How far apart should downlights be installed?
There is no universal spacing. The ideal distance depends on ceiling height, lumen output, beam angle, room function, and the required lighting level.
Why are my new downlights flickering?
Possible causes include driver compatibility, dimmer compatibility, wiring problems, or an unstable power supply. The electrical system should be checked by a qualified professional where necessary.
Choose the Right Downlights for Your Existing Ceiling
Installing downlights in an existing ceiling is an effective way to upgrade an interior without completely replacing the ceiling. However, successful installation requires careful planning.
Before cutting the ceiling, check the existing structure, hidden wiring and pipes, available ceiling depth, and required cut-out size. Then select LED downlights with the appropriate wattage, lumen output, beam angle, color temperature, CRI, driver, and installation method.
For lighting distributors, contractors, project companies, and lighting brands, choosing the right manufacturer can make renovation projects easier by providing accurate specifications, consistent production, certification documentation, and customization support.
Fitlight is a professional LED lighting manufacturer offering recessed downlights and other indoor lighting solutions for global B2B customers. Its downlight range supports different power levels, cut-out sizes, CCT options, beam angles, LED sources, and driver configurations for different project requirements.
For example, selected Fitlight recessed downlight models offer multiple cut-out options and can be configured with different LED sources and drivers. This flexibility can be valuable for distributors and project buyers working with different existing ceiling conditions.
If you are sourcing LED downlights for a renovation project, distribution business, or private-label lighting brand, contact Fitlight to discuss your required specifications, quantity, target market, OEM/ODM requirements, and certification needs.
Looking for reliable downlights for your next renovation or lighting project? Contact Fitlight Lighting for product specifications, samples, customized solutions, and a quotation.